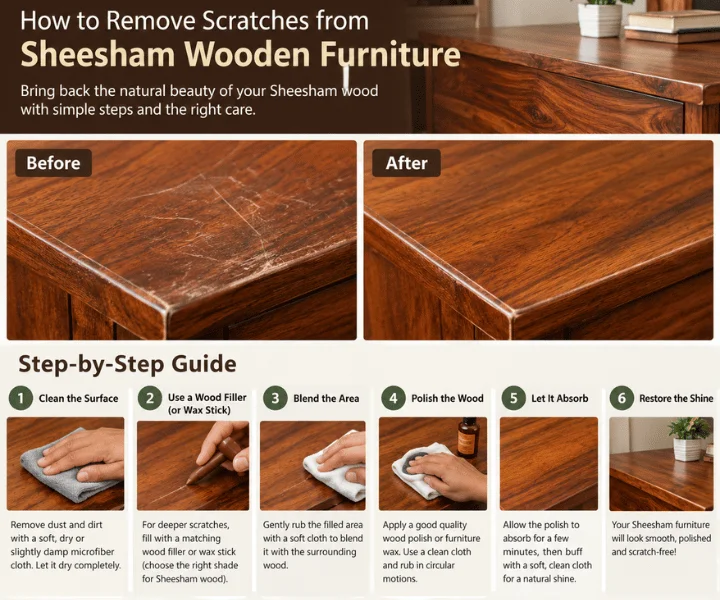
Blog
How to Clean Sheesham Wood Furniture at Home: A Step-by-Step Guide

It is a Sunday morning. Sunlight falls across your dining table, and suddenly you see everything: a pale ring from last night’s chai, a smudge near the edge, and a fine film of dust that was not there on Friday.
Nothing is broken. The table just needs a little attention. And the good news is that cleaning Sheesham takes less effort than most people expect, as long as you avoid a few common shortcuts.
This guide walks you through the whole routine in plain language: what to use, what to skip, how to handle stains, and how to adjust for monsoon, summer dust, and festival-season cleaning. At Gadwal Furniture, we spend our days around solid Sheesham, so this is written from that everyday point of view.
Why Sheesham Needs a Different Touch
If you have ever wiped a laminate tabletop with a wet cloth and a splash of cleaner, you might assume wood works the same way. It does not.
Sheesham, or Indian Rosewood, is a natural material. It is dense and sturdy, but it still breathes. It slowly absorbs and releases moisture, and it reacts to heat, sunlight, and harsh chemicals. A wet mop that a tile floor barely notices can leave a cloudy patch on a wooden panel.
That is the whole secret of cleaning it well: use less water than you think you need, and dry it sooner than you think you should.
Genuine solid Sheesham wood furniture is also built to last for decades, which means small, regular care pays off far more than occasional heavy scrubbing.
First, Identify the Finish
Before you clean anything, find out what is sitting on top of your wood. The finish decides how much moisture and what type of polish it can handle.
Sealed finish (lacquer, PU, or glossy polish): A thin protective film covers the wood. It handles quick wipes well and shows fingerprints more easily.
Natural finish (oil or wax): The surface soaks up products instead of sealing against them. It looks soft and matte, and it is a little more sensitive to water.
The drop test: Place one small drop of water on a hidden corner. If it stays as a bead, you have a sealed finish. If the spot darkens within a minute, the finish is natural, and you should be extra careful with dampness.
Build a Simple Cleaning Shelf
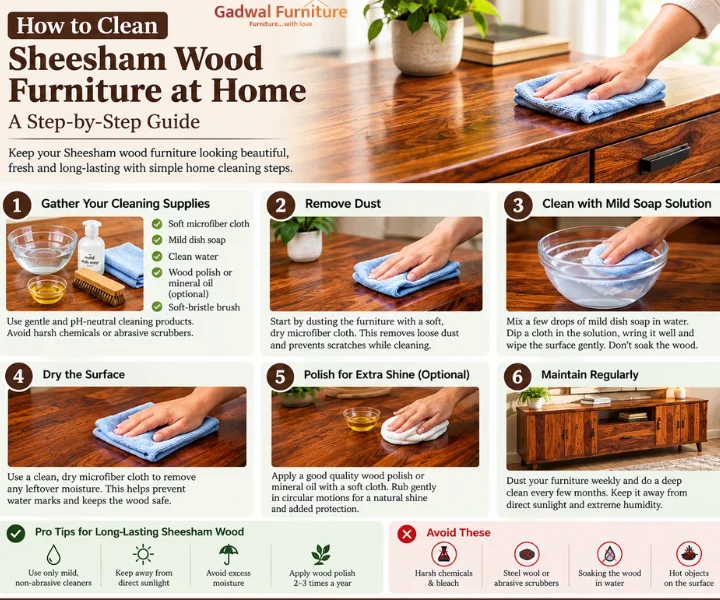
You do not need a cupboard full of products. A small basket is enough:
- Two or three soft microfiber cloths (one for damp, one for dry, one for buffing)
- A soft brush, such as an unused paintbrush
- Mild dish soap
- Lukewarm water in a small bowl
- Baking soda
- Beeswax or a silicone-free furniture polish
- A vacuum with a brush attachment, if you have one
Keep this basket together so wiping the furniture never feels like a big project.
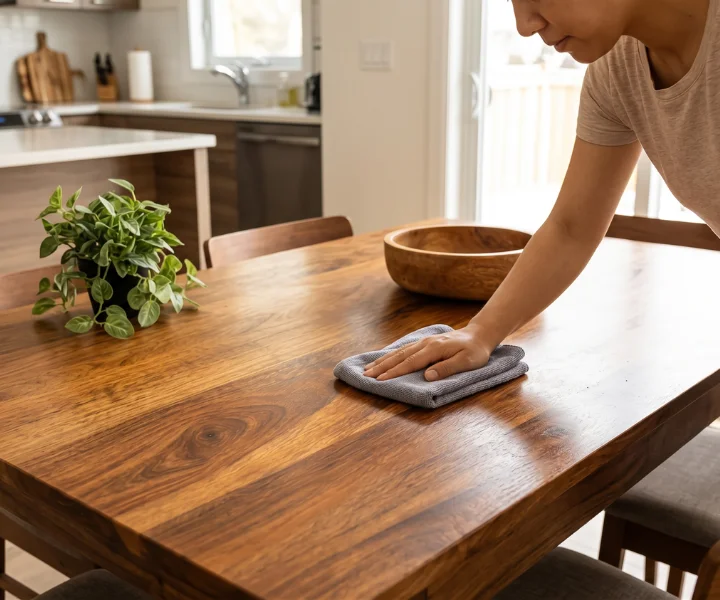
The Everyday Dust Routine (Takes 2 Minutes)
Dust is not just untidy. When you drag it across the surface, it acts like very fine sandpaper and slowly dulls the finish.
So the first rule is to lift dust, not rub it around. Use a dry microfiber cloth, fold it into a pad, and glide it along the grain. When one side gets dirty, refold to a fresh side.
Do this every day or every other day on high-use pieces like dining tables, bedside tables, and TV units. It sounds small, but this alone prevents most of the grime that people end up scrubbing off later.
The Weekly Wipe-Down, Done Properly
Once a week, go one step further. Here is the routine.
1. Clear the surface. Move décor, remotes, and mats out of the way so you can reach the entire top.
2. Dust first. Never wipe wet over dust. It turns into a muddy film.
3. Mix the gentlest cleaner possible. Two or three drops of mild soap in a bowl of lukewarm water. If it looks very foamy, you used too much.
4. Wring the cloth until it stops dripping. A good test: squeeze it, then press it on your palm. It should feel cool and slightly damp, not wet.
5. Wipe with the grain. Look at the direction of the lines in the wood and follow them. Work in strips, one section at a time.
6. Dry right away. Use your second cloth and wipe the same strip dry before moving on.
7. Finish with a light buff. A dry cloth and a few strokes bring the sheen back.
That is it. No sprays, no scrubbing, no fuss.
Deep Clean Day: Once Every Season
Every two to three months, or when the surface feels slightly tacky, give your furniture a proper refresh.
- Start by vacuuming or brushing out corners, carvings, drawer tracks, and the gaps where legs meet frames.
- Use your soft brush with a barely damp cloth to loosen grime from grooves.
- Wipe down each panel in the same slow, damp-then-dry method.
- Open drawers and doors and leave them ajar for an hour so the inside air can settle.
- Only after everything is completely dry, apply a thin layer of polish or wax.
Many families do this before Diwali or a big gathering, which is a good habit. Just do not wait until the day before guests arrive. Give the polish a day to settle properly.
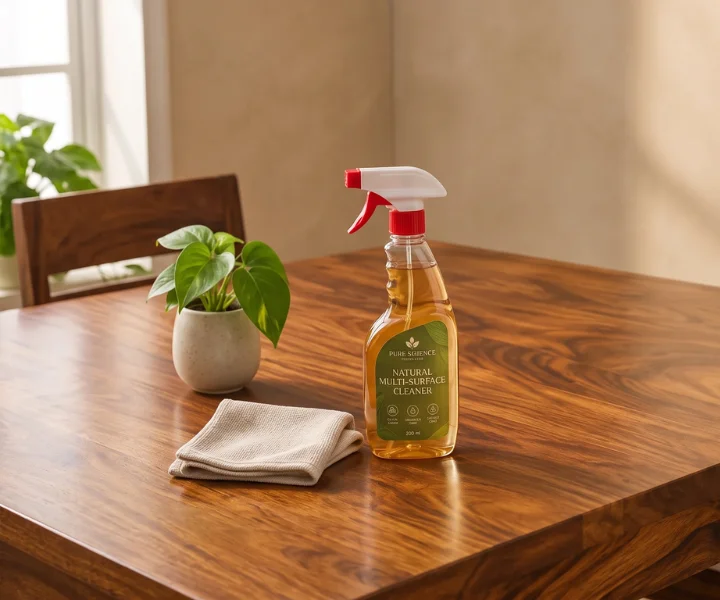
Stain Troubleshooting: A Quick Guide to Everyday Messes
Chai or coffee rings. Wipe fresh spills at once with a dry cloth. For a faint ring that has set, rub gently along the grain with a barely damp cloth, then dry. If a pale mark remains, mix baking soda with a few drops of water into a thin paste, rub lightly, wipe clean, dry, and follow with wax.
Oily fingerprints and kitchen grease. Sprinkle a pinch of baking soda over the spot and leave it for a few minutes. Brush it away gently, then wipe with soapy water and dry.
Sticky patches from juice or sweets. A lightly soapy, well-wrung cloth usually does it. Do not let it sit, since sugar attracts dust.
Candle wax. Let it cool and harden, then lift it carefully with a plastic card. Never use a metal knife. Wipe the area with a slightly warm, nearly dry cloth, then buff.
Sticker or tape residue. A dab of coconut oil on a cloth loosens most adhesives. Wipe off the oil with a soapy cloth, then dry.
Pen or marker marks. Try mild soap on a barely damp cloth. If it refuses to budge, stop. Rubbing harder can remove the finish, and a professional is the safer option.
Water rings from hot pots or wet glasses. Act early, and be gentle. Dry rubbing and a baking soda paste work for light marks. Deeper white patches may need re-polishing.
Whichever stain you face, test your method on a hidden spot first.
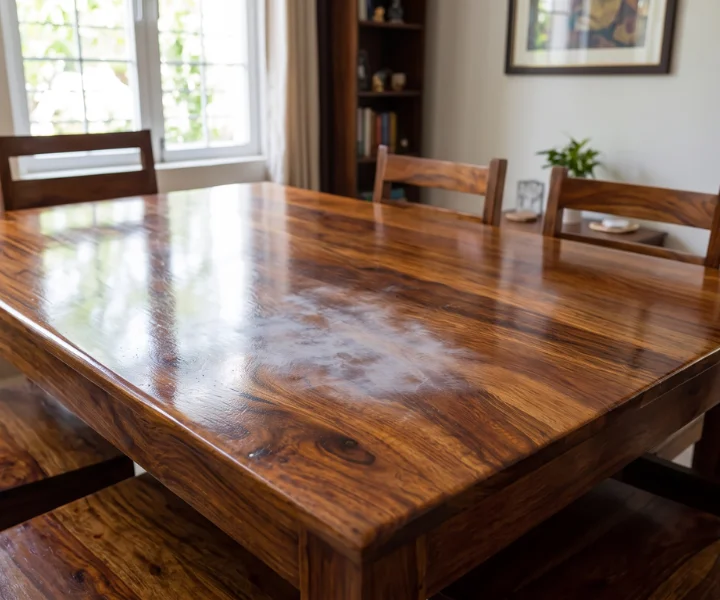
Polish and Wax: Protect What You Cleaned
Cleaning removes dirt. Polishing guards against the next round of it.
For sealed finishes, choose a silicone-free wood polish. Apply a very thin layer with a soft cloth, move along the grain, and buff until dry.
For natural finishes, beeswax or a furniture oil is better. Rub in a small amount, let it rest for a few minutes, then buff the extra off.
Aim for every three to six months. Tables and chairs that see daily use may need it sooner. If the surface feels sticky or looks cloudy, you have used too much, so wipe lightly with a dry cloth and let it settle.
Things That Look Helpful but Quietly Hurt Your Wood
Some habits feel like good housekeeping but slowly cause damage.
- Wet mopping near wooden legs and bases. Water creeps up the feet and into joints.
- All-purpose sprays. Most contain chemicals that dull or soften the finish.
- Scouring pads and steel wool. They leave fine scratches that collect dirt.
- Silicone-heavy polish. It looks shiny at first, then builds up and makes future repairs harder.
- Vinegar or lemon cleaners. Their acidity can cloud certain finishes.
- Hot utensils straight on the surface. Heat leaves white marks that are difficult to remove.
- Leaving spills “for later”. Moisture is wood’s biggest enemy.
Room-by-Room Cleaning Notes
Bedroom. Dust the headboard, side rails, and the space under the bed. If you are shopping for a new frame, our guide to solid wood beds is a handy place to start. Wipe bedside tables often, since glasses of water and creams sit there daily.
Dining area. This is the busiest zone. Wipe the table after meals, use coasters and runners, and check chair legs where food crumbs gather.
Living room. Coffee tables and TV units collect dust fast. A weekly wipe and a tray for remotes and cups make a big difference.
Kids’ room. Expect crayon, stickers, and sticky hands. Clean small messes quickly, and use a washable mat on study tables.
Wardrobes and storage. Dust the tops and edges, and keep the interiors dry. A few neem leaves or moisture absorbers inside help in humid weather.
Cleaning Through the Indian Seasons
Monsoon. The air is heavy, and wood can feel slightly sticky. Skip damp wiping on very humid days. Use a dry cloth instead, keep windows slightly open when it is not raining, and leave a small gap between furniture and walls so air can circulate. If you see white or grey spots, wipe with a dry cloth and let the area air out. If they come back, call a professional.
Summer. Dust and dry heat are the main troubles. Dust more often, keep furniture away from direct afternoon sun, and use curtains to prevent fading.
Winter. The air is drier, so a light coat of wax or polish helps the wood stay supple.
Festival season. Plan your deep clean a week ahead so the finish has time to settle before guests arrive.
A Simple Monthly Rhythm
| When | What to do |
|---|---|
| Every 1 to 2 days | Quick dry dusting of high-use surfaces |
| Weekly | Damp-then-dry wipe-down |
| Every 2 to 3 months | Deep clean, including grooves and corners |
| Every 3 to 6 months | Thin coat of polish or wax |
| Before festivals | Deep clean plus polish, a week early |
When to Get Professional Help
You can handle most upkeep at home. Call an expert when you notice:
- Peeling, bubbling, or flaking finish
- Tiny holes or a fine powder near the furniture, which may point to insects
- Mould that returns after wiping
- Stains that do not respond to gentle methods
- Loose or cracked joints
- A cherished antique or heirloom that needs careful restoration
Frequently asked questions
Can I use a wet cloth on Sheesham furniture?
Only a well-wrung, barely damp one, followed straight away by a dry cloth. Wet cloths left on the surface can cause cloudy patches and swelling.
Which cleaner is safest for Sheesham?
Mild dish soap diluted in lukewarm water is usually plenty. Skip strong chemicals and scented sprays.
How do I get rid of sticky film on my table?
That is typically built-up polish or food residue. Wipe with a lightly soapy cloth, dry well, and apply a much thinner coat of polish next time.
Is baking soda safe on wood?
In a mild paste and with gentle rubbing, it works for grease and light marks on many finishes. Always test a hidden spot first.
How often should Sheesham furniture be polished?
Every three to six months is a good guide, depending on how much the piece is used.
Can I use furniture polish spray?
You can, but pick a silicone-free one and spray it onto the cloth, not directly on the wood.
The Short Version
Dust daily. Wipe weekly with a barely damp cloth. Dry right away. Polish a few times a year. Keep spills, sunlight, and harsh chemicals away.
That is all it takes to keep Sheesham looking warm and healthy for a very long time.
If you are planning to bring home furniture that is easy to care for and built to last, browse our range of solid Sheesham wood furniture at Gadwal Furniture. Made to be lived with, wiped down, and loved for years.
For more info, contact: support@gadwalfurniture.com
Follow our Instagram : Gadwal Furniture